So I recently posted a couple of images into a wonderful Facebook group that I belong to. These images were from my latest session of an amazing dancer. The blog post of her will be up soon! For this session I used hand painted backdrops that a friend and I made. I had so many people ask for more details on how they were made I decided to do a post on it.
Before I start, can I just say that I am not an expert in this! I did a little research online and then we just went for it!
MATERIALS
* regular MATTE household paint. You probably want to use about 3 colours. We used a gallon for the main colour and then 1 quart each for the other 2 colours.
*Fabric to paint on. We used an old muslin photography backdrop but most people use painters canvas drop cloths. You can buy them in Home Depot or on Amazon. The sizes for ours are roughly 10’x 14′ and 10’x11
*UNSCENTED fabric softener
*Bowls to mix paint in & stir sticks
*Jug of water
*Paint roller & plastic
*Sea sponges
.
Start off by pouring some paint into your bowl that will be your main colour. Mix with about half fabric conditioner. The paint will go really thick, don’t worry, just add water little bits at a time until it thins out. The fabric conditioner helps the paint not to crack once its dried on the fabric so you can roll it up with ease.
.jpg)
Lay your plastic down and then put the fabric over the top. If you’re doing a lighter backdrop I suggest rolling on your base colour first all over the fabric and leaving it to dry. We didn’t do this and the fabric soaked up all the paint and we basically ended up painting it twice! Once you have your base colour on, roll the same colour over the top in small sections.
.jpg)
Have your second colour ready and sponge it on over the top of the base colour. Use another clean sponge to blend it in. To blend you can either keep dabbing over the second colour or you can use circular motions depending on the look you want. We just dabbed them all LOTS until it was well blended. Keep working in sections until you have covered the whole canvas. Let it dry.
.jpg)
After this we didn’t take anymore photos DUH!! But basically we used the same technique of dabbing on the colours and blending, although for the last layer of colour we used straight sweeping motions to blend the paint as oppose to circular or dabbing which gave it a more painted look as if it had brushstrokes on it. We grouped the colours together do it didn’t look too uniform, but it would’ve been pretty to blend them all in too, like a big fluffy cloud. There are so many options with these that you can try anything out!
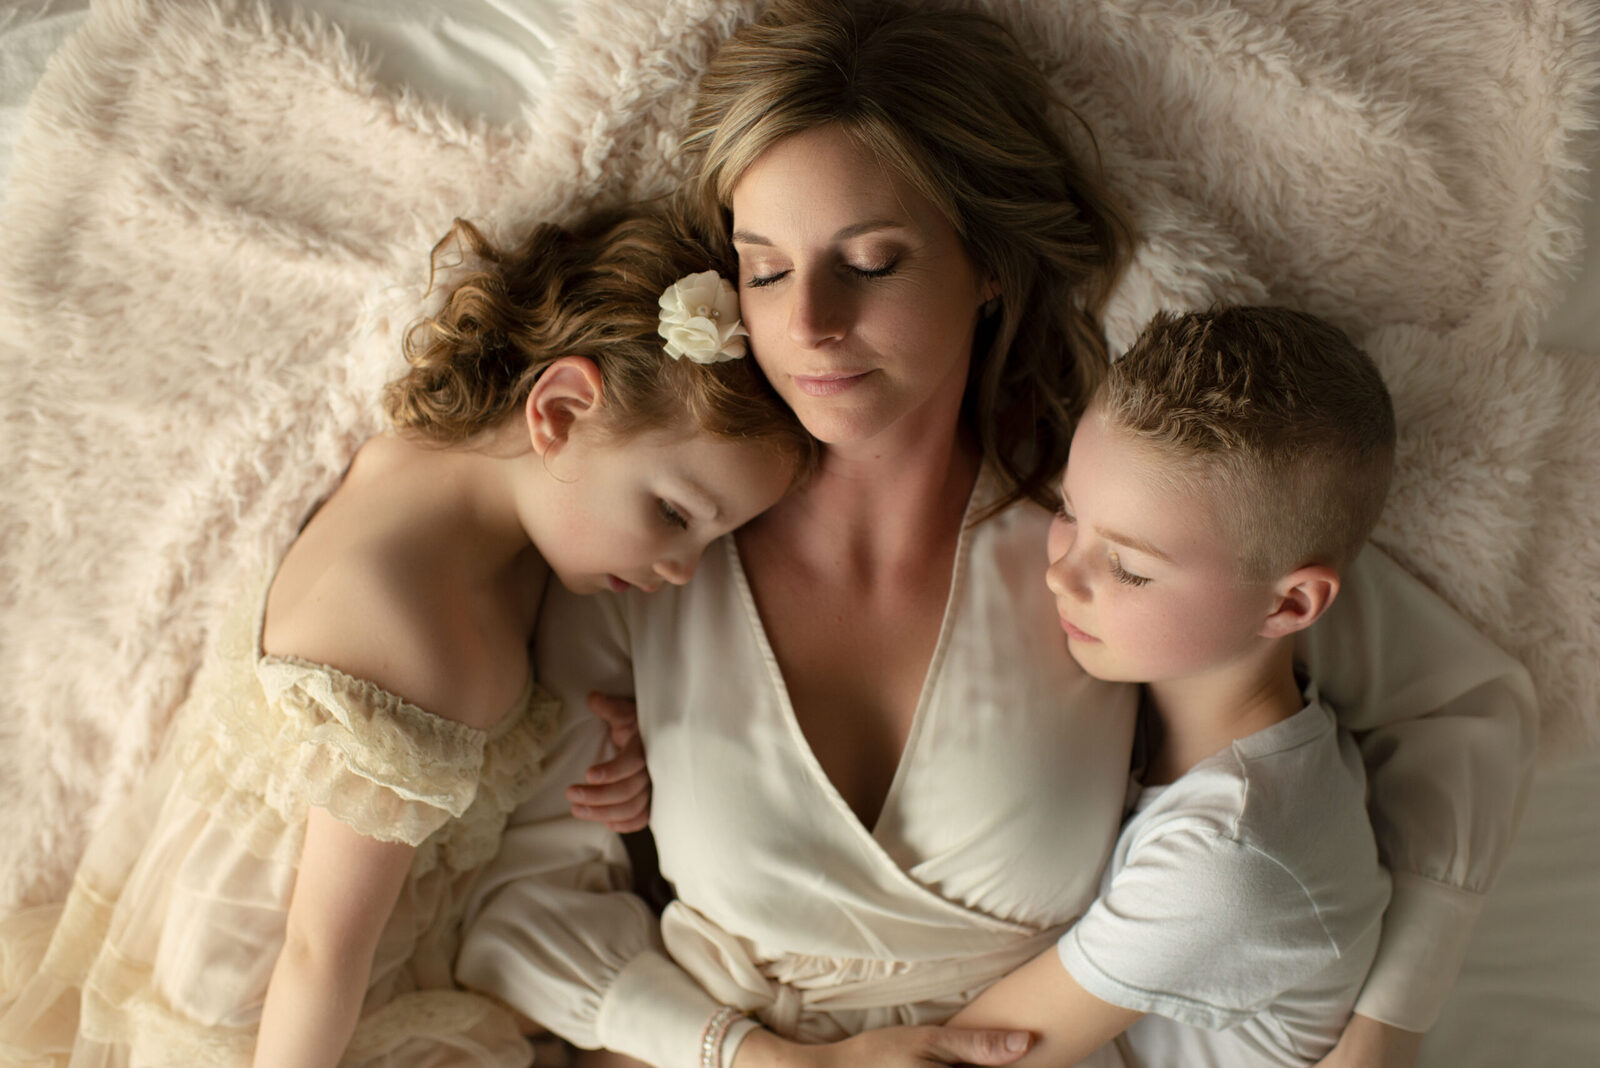
Colour options are endless! For this one we used white, a light grey and a very pale grey/blue. Not too baby blue! It looks very different under strobes and natural light. The first image is using a large soft box and it looks more grey. The second image is using natural window light which shows the blue more.

We also made a second backdrop, this was our first attempt so we didn’t take photos. This time we used 3 shades of grey and we created more of a vignette. We used the circular motion to blend the colours. In real life these don’t look all that great but they photograph beautifully. Don’t be too picky otherwise you’ll be there for hours. It is very quick and easy to blend any imperfections in photoshop using either the clone or patch tool.
Heres a couple of behind the scenes so you can see that they are NOT perfect.
.jpg)
But they are amazing in the photographs!.jpg)
.jpg) To store the backdrops I suggest you roll them. They can be folded but they crease very easily and the only way to get the creases out is to either iron or steam them on the back. Or use photoshop!
To store the backdrops I suggest you roll them. They can be folded but they crease very easily and the only way to get the creases out is to either iron or steam them on the back. Or use photoshop!
Hope that helps. Have fun with them, they can become very addictive. Any questions, just comment below and I’ll do my best to answer them.


Is the fabric conditioner purchased at a paint store and in how big of container? Love these and can’t wait to try it!
fabric conditioner was bought from grocery store. I used almost 2L per backdrop 🙂
Thanks so much for this tutorial! Did the paint dry quickly as you were trying to blend it? I was considering adding an “Extender” to the paint being blended so it doesn’t dry as fast.
Is fabric conditioner the same as fabric softener?
Dawn
yes fabric conditioner is the same as fabric softener. the second coat of paint did dry pretty quickly. We used very wet sponges to blend the paint.
Thank you for sharing this! Can you please let me know what type of material did you use and how big (with & height?) Thank you so much!!
It was a muslin I think. It was an old photography backdrop that we used. Dimensions were roughly 10′ wide x 14′ long and the smaller one was 10′ wide by 11′ long.
Thanks for the awesome post, Michelle! I am just getting started so my backdrops are limited. I will definitely give this a go!
Love these backdrops, especially the color and soft blending. Can you share the color names and brands you used on each backdrop? I’d love to give it a try. Thank your for sharing!
Hi. Sorry I didn’t make a note of the colours. I wish I had! The brand was CIL though.